


Design tools are constantly changing to accommodate new designer needs that emerge as the tech industry evolves. While these updates are ultimately beneficial, designers often end up feeling overwhelmed by having to unpack all the features and capabilities a tool has to offer (not to mention that design systems are often vastly complex to start). This is why we’ve decided to break down the basic features of one of our favorite vector-based design programs, Sketch.
This article includes a general overview of the workspace, the basics of creating and manipulating objects, the essentials of grouping and organizing objects, as well as a walkthrough of some more advanced techniques you can try. You can also find a video tutorial that will guide you through some of these processes if you find you’re a better visual-learner.
The basics
First, we’ll run through the basic features you should familiarize yourself with when first using Sketch.

- The Canvas: This refers to the open workspace in the center of the page. Which is the space you’ll work within to create artboards and product flows.
- Toolbar: At the top of the workspace there’s a toolbar with various design resources and object manipulation tools that are most commonly used. It can be customized to your personal workflow.
- Inspector: Along the right side of the page is the “Inspector” tool which is used for manipulating and transforming the object that is currently selected.
- Layer List: Along the left side of the page, you’ll find the “Layer list” which is used for organizing and grouping objects.
We’ll cover these tools in more detail later. So keep reading!
Getting started
Here we’ll explain the basics of creating and manipulating an object. But first you’ll need to create an Artboard.
The Artboard
You’ll need to add an artboard to your workspace to start. This is essentially a “piece of paper” that you can create design on. The keyboard shortcut to make one is “A” - and you can drag your artboard to a custom size, or choose one based on a set of defaults.
For more information on how to clean up your artboards check out this article.
Shapes
To make a shape, simply go to Insert > Shape, and choose from a variety of shapes to add. Shapes can be placed across your artboard with the help of smart-guides (which appear automatically), and the size can be adjusted symmetrically. Take your sharp-edged squares to the next level by softening the corners using the “Radius” tool.
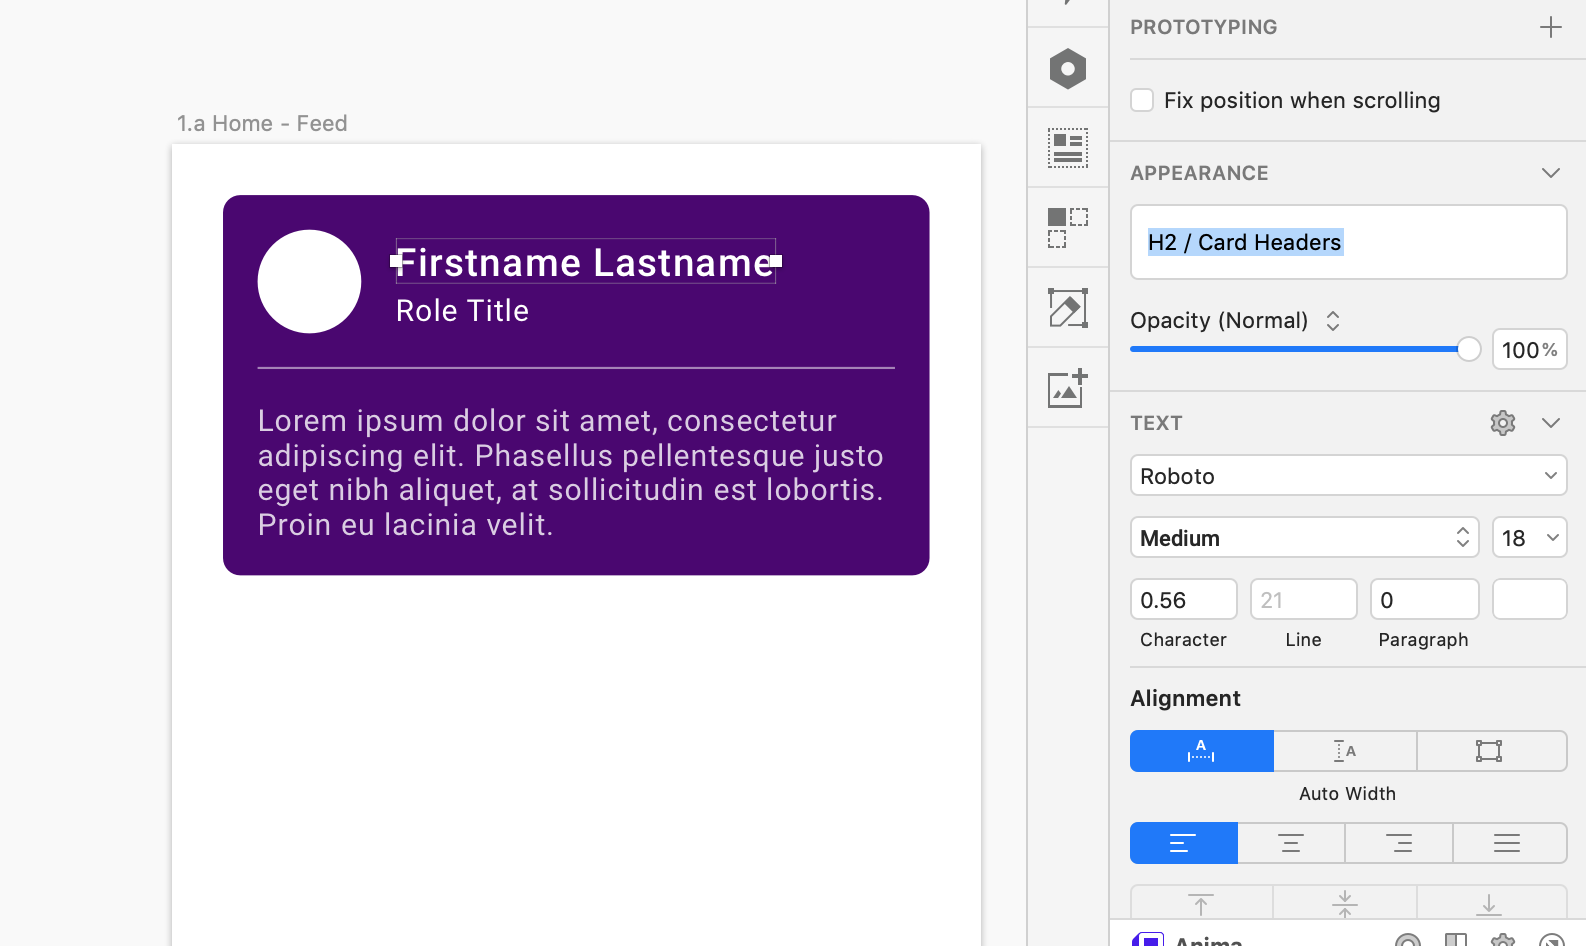
Text
Every digital product needs text. Click Insert > Text in the toolbar or simply tap the “T” key to start adding headers, body copy, and button text to your designs. Stylize the color, weight, and opacity of your text with the options in the inspector. You can even save specific styles for later use by creating a new text style with the appearance tool in the inspector.
Images
Images bring your designs to a whole new level of realism. Insert images to add avatars, background images, and empty states.
Using inspector to manipulate shapes
Shapes can be transformed and manipulated in many ways with the “Inspector” toolbar. Here’s a run-down of some of the basic options for shape manipulation or general design.
- Fills: By selecting your object, you can use the “Fill” setting to add color. You can also add more complex fill styles, such as gradients, patterns, or even fill a shape with an image.
- Borders: The “Borders” setting is great for adjusting the look of the borders (sometimes referred to as stroke or outline) of your objects.
- Shadows: The “Shadows” style adds a drop-shadow effect to your object. You can customize the size, color, or opacity of the shadow to create different looks and imitate different depths.
More Techniques to Master
Here are a few additional tools and techniques that are slightly more advanced. When mastered, they’ll help you save time while designing.
Masking
Masking is a great way to perfect your understanding of the layering and grouping of objects. Essentially, masking is the combining of two images, while constraining one within the borders of another.
To get started with masking an object, simply place an object on top of another object. To mask these objects together, select them both and click the “Mask” option in the top tool-bar. This will effectively “fit” the top object within the bottom object, wherever it overlaps.
Make Grid Tool
This tool is located in the toolbar at the top of the screen. The “Make Grid Tool” will take an object that you’ve created, and organize it into a grid-style pattern of objects. You can customize the number of rows, columns, and margins between each. This is a powerful tool when you need to create objects that are uniformly distributed, such as a list of navigation options within an app.
Staying Organized
Keeping your work organized is key to an effective workflow, especially when sharing files among other designers. Although it’s not always possible, it’s best to keep your file organized as you go to avoid a long cleanup process at the end. The following section will refer to the basic elements of the layer list mentioned earlier.

Pages
The Pages are displayed on the left-hand side of your screen. Each Page represents an object or group of objects within your design. This allows you to easily click on a page and select an object or have a quick overview of all the components of your design.
*Pro-tip: If you’re familiar with other major design programs, pages essentially functions the same as Layers.
Layers
Pages are organized from top to bottom, which represent the layers of your design. The Pages toward the top will appear in the foreground of your design, and those toward the bottom are in the background. You can easily change their position by pressing Command + Option and the Up/Down arrows.
Groups
The Pages bar can get awfully crowded when you start adding more components to your design. Luckily, the Pages can be sorted into groups (or essentially folders) for easy organization and accessibility. To make a group, hold Shift and drag over a group of objects, and hit Command+G. Organization is key to saving yourself time later!
Wrap up
Sketch is an awesomely powerful tool for design, and there are tons more features and elements to learn how to use within it. We hope this article serves as a good introductory tutorial for beginners.
Remember to check out our Intro to UI Design in Sketch video for more tips and information on how to get started with Sketch.
Best of luck to you with your creative endeavors!


