


How do you throw a party to celebrate a decade of business that encapsulates the spirit of your company and the people that make it so great? On top of the DJ, live mural, and delicious cocktails, we wanted to go above and beyond to show off the innovative roots that make Crema such a great place to work for and alongside.
Combining machine learning technology and a dash of light-hearted humor, three of our developers set to work creating several experiential art pieces that would add a whole new level to our 10 year party. What we’ve outlined below is a peek into their machine learning journey.
From conception to completion, Joel, Deric, and Neal share the struggles they came up against, the cost required for this type of installation, and step-by-step instructions on how to replicate our process for your own party or event.
First of All, What is Machine Learning?
Machine learning is not magic, contrary to popular belief. Machine learning provides a computer/software/machine the ability to learn and improve from experience without having to be specifically programmed. Machine learning is a subset of artificial intelligence, though there are many other types of AI (like speech recognition).
Boiled down, machine learning provides algorithmic tools to process data. The machine then uses that data to make better predictions. If you have bad data, the outcome might not be what you want (and you’ll get the wrong prediction). It’s only as smart as you (the user) allow its training to be.
You may not realize it, but you come across machine learning a lot more than you think. It could be something as simple as a Netflix suggestion for what you should watch next. Unless you’re a Netflix employee, you can’t really know what these predictions are based on. We can hazard a guess that it relies on data like your location, what you’ve watched in the past, what you’ve rated, etc. to make its predictions.
The not-so-sexy truth is that machine learning is essentially data, graphs, algorithms, and math.
Body Tracking
Now that we've covered the basics of machine learning, let's dive into a type of machine learning technology: body tracking. With neural networks, body and motion detection takes data (pictures) that an algorithm matches with a ‘best guess’. For example, the algorithm might say ‘well, it sorta looks like this and this is close to this’. The truth is that a machine doesn’t know what an arm is, but it knows that based on pictures, this could be an arm.
However, someone first has to tell the machine what it could possibly be. The more info (pictures) you can provide, the better the predictions will be. Once data is crunched into a training model that it can use, predictions can be made.
Tools, Tools, and More Tools…
The great thing about living in 2019 is that there are a ton of open-source tools that you can use to get your machine learning project up and running. We’ll walk you through the main tools we utilized for our experiential art pieces.
TensorFlow
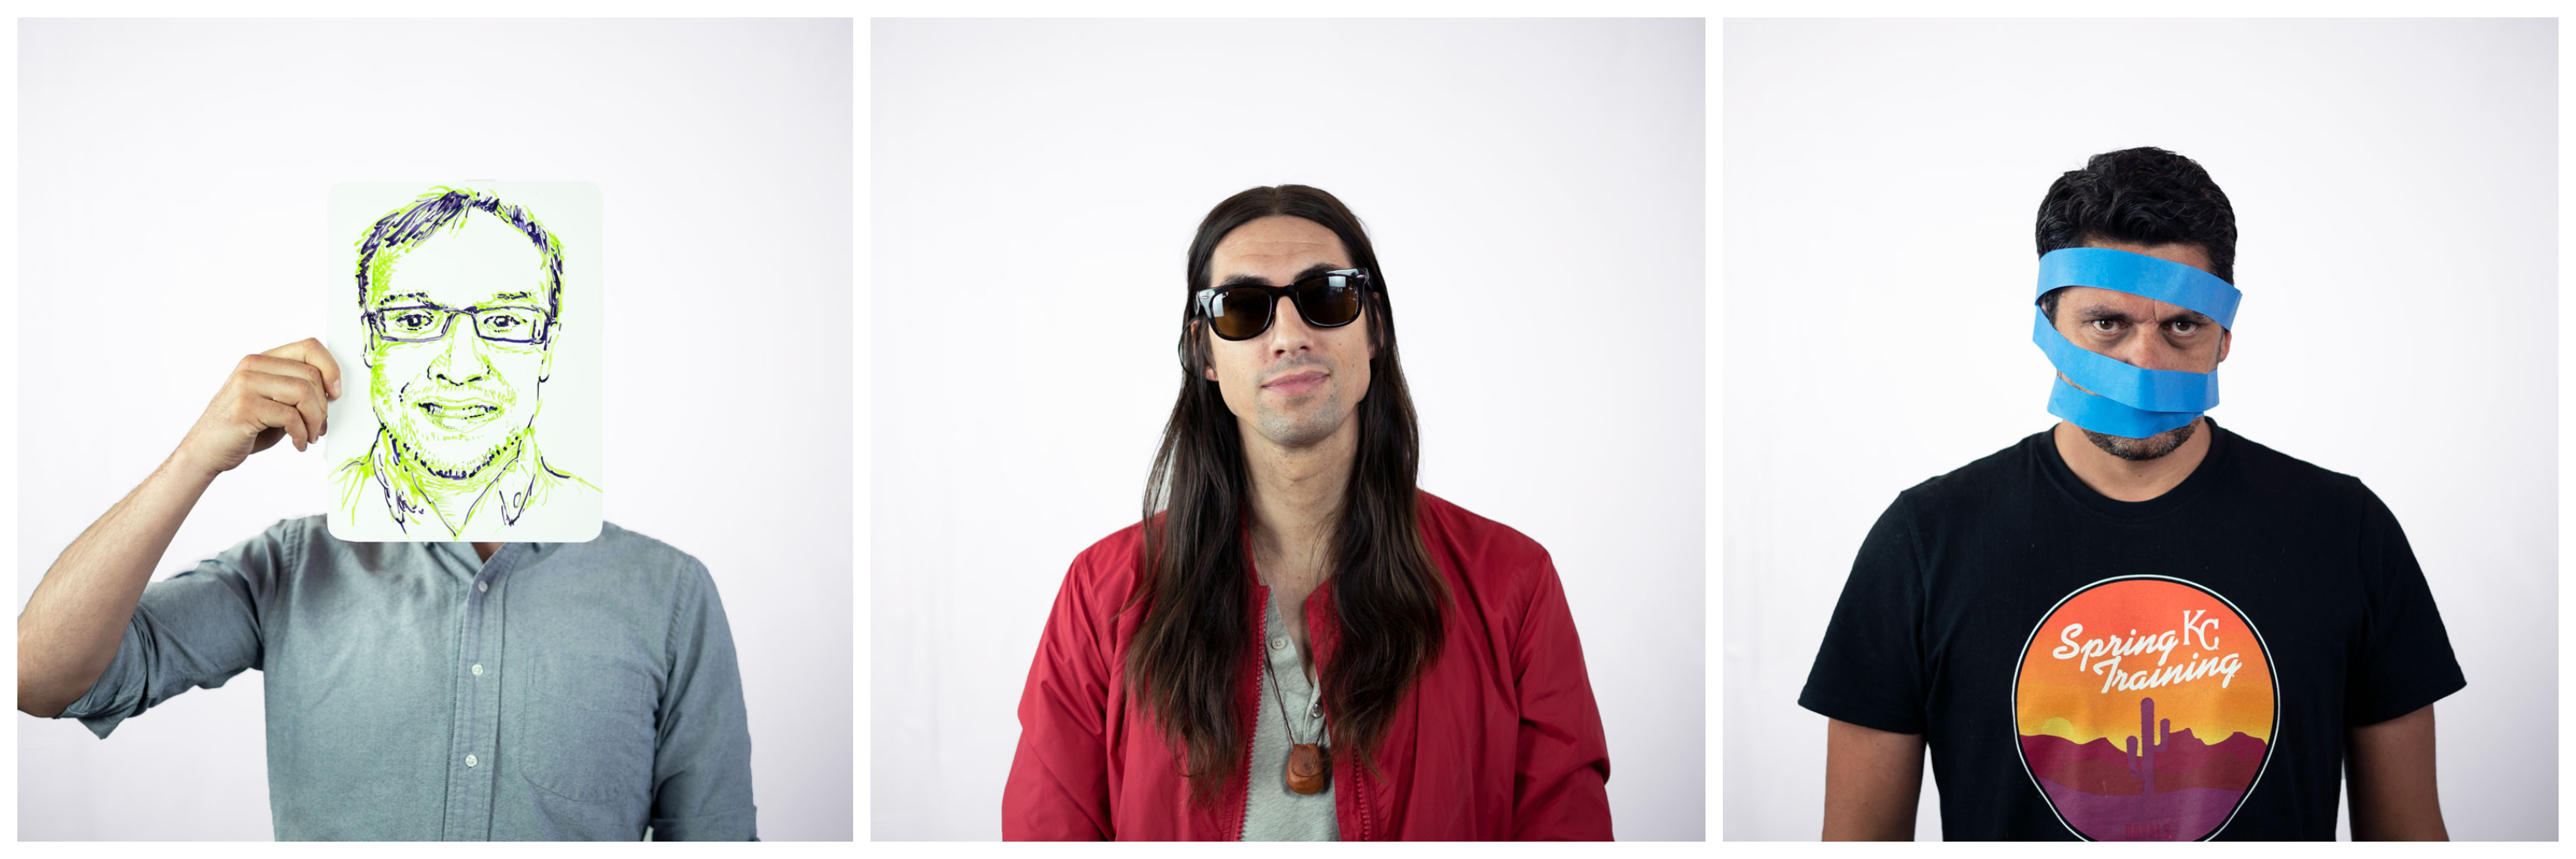
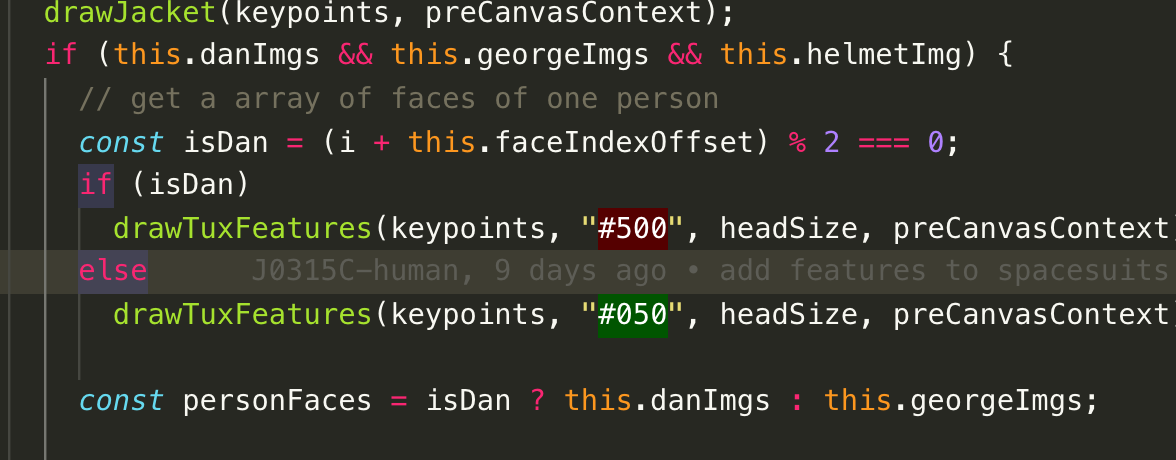
Neal was the first to discover TensorFlow, an open source machine learning library for research and production created by Google. This library is great for machine learning applications, such as neural networks, and completely free to use. We used TensorFlow to help sense poses and body positions that we could replicate on a screen with Dan and George’s faces superimposed on the stick figure bodies. Stick figure Dan and George were also appropriately clothed in tuxedos to match the Creative Cocktail dress code for the night.
TensorFlow, written in C++ because of the language’s ability to get the most out of hardware resources, is used by developers through its API, which can be used in C++ or Python. Many developers use Python because of its ease of use, which is great for beginners. Furthermore, Tensorflow has moved into the Javascript & Node domain through Tensorflow.js, another API library one can use for browser / web application based solutions.
PoseNet
After digging deeper into TensorFlow, Deric came across PoseNet, a standalone model that can be used with TensorFlow.js to estimate the pose of a person in an image/video by predicting where key body joints are. We chose to use PoseNet because it had the trained model for body detection, and it was simple to use with TensorFlow. Allowing us to detect poses from one person or multiple with ease!
All the team had to do was send an input RGB image to the algorithm, and in return would send back a ‘Pose’, which was merely keypoints and confidence levels of persons in the image. Which we in human terms would call joints (wrist, elbow, shoulder, etc.). The algorithm is only giving its best guess which it will make from its training and the given data from the video.
PoseNet’s model works, but as stated, it’s only a guess. You might have to allow for the estimation to be a bit bigger (more of a buffer), but this will also create more errors. Another limitation is that it uses a 2D webcam, so it can’t really convey depth, it has to do that geometrically through the algorithm. It also helps to have ideal lighting and a strong graphics card. PoseNet provides the pre-defined training, but it’s up to you to understand PoseNet documentation and how to use the library.
Projections
Joel, who had previous experience working with projection software, spearheaded the projection portion of the project. This experiential installation required equal parts technology and ‘hardware’ (ie: a projector, 3D paper crystal shapes that were taped to the wall, etc.).

We leveraged the black and white hexagon tiles in the loft kitchen to provide an interesting shape that Dan and George’s (our co-founders) faces could be projected against. We also had another projection going on in the main lobby area, though this one required us to build the shapes that would serve as the background. Using foam board, a template, and paper, Joel built crystal-like shapes that were arranged on the wall in an abstract pattern.
When creating a projection, you have to make sure that the projector does not move and the surfaces don’t change. We used white electrical tape to mount our shapes to the wall, though that unfortunately posed a whole new set of problems. At first, we tried to keep the design clean by using only little rolled up bits of tape on the edges of our crystal shapes. However, after several crystals falling down overnight, we switched tactics and went with full tape pieces that would keep everything in place.
All in all, the end product was pretty spectacular:
The Struggles Were Real...
Things weren’t all just sunshine and rainbows though. When working with machine learning technology (and especially on a limited budget), you have to get creative with workarounds.
One struggle we came up against was our own equipment’s inability to handle such huge processing power. At first, we tried using a different library that would find hand positions and gestures called Handtrack.js. However, we couldn’t run the program on our browser, so we had to switch back to PoseNet.
Another hurdle we had to overcome was the 5 minute screen lock out feature that was mandatory on all our computers (this is a part of Jamf security software). We needed the computer to stay active and unlocked while the experience was taking place. As a workaround, we used a previous employees’ laptop that didn’t have the Jamf software installed.
Browser performance problems were something we came up against as well, specifically memory leaks. Every time we would cycle through different activities (ie: poses), objects were left in the memory uncleaned. This slowed things down until we tracked down the offending lines of code.
So How Much Does All This Cost?
Hardly anything! If you’re willing to put in the effort to get everything set up, this is a very cost-efficient way to make your party or event memorable. The most expensive piece of the project would be a projector, but many companies will have ones you can rent if you’re tight on cash.
From a dev perspective, we got most of what we needed completely free. The machine learning library we found was free, and it had pre-set, trained neural networks that we could download and run locally. For those interested, there are other options out there. Amazon offers a machine vision API (Rekognition) that you pay for daily, and Google has Vision AI that’s handled on a per-user basis.
All in all, the only things we bought were the materials for the crystal shapes, hardware to mount the projector, and a $30 membership for projection software. Here’s a breakdown of what our expenses (totaling $200) looked like:
Projection mounts
- 2 wood boards (36” by 24”)
- 8 hooks to mount on corners
- Several white, 3-prong extension cords
- 2 power strips
- 24 feet of chain
- White paint/spray paint for bottom of boards
- White duct tape to cover cords
Projections
- Back backdrop
- A few large pieces of white poster board
- Foam mounting blocks
- 2-sided tape
AR/Machine learning
- 1 webcam
- 1 MacBook Pro
- Monitor / TV for output
In Conclusion…
It’s getting easy to use machine learning with all the libraries and tools at your disposal. We predict that in the future, it will become much more common to use machine learning in a day-to-day setting. Maybe someday we will try to write our own algorithm and train our own model to use with our own datasets!
Key takeaways:
- Machine learning is not witchcraft
- There are tons of free tools out there to make your job easier
- Machine learning projects can be affordable
- Invest in equipment that can handle the processing power required
- Keep an eye out for browser performance problems (like memory leaks)


